Frequently Asked Questions
Configuring port forwarding for remote viewing on an IP camera involves several critical steps to ensure seamless access over the internet. First, the user must log into their router's web interface, typically accessed through a specific IP address, such as 192.168.1.1 or 192.168.0.1, depending on the router model. Once logged in, the user should navigate to the port forwarding section, which may be labeled as "Virtual Server," "NAT," or "Applications." Here, the user will need to input the internal IP address of the IP camera, which can be found in the camera's settings or through the router's DHCP client list. The user must then specify the external port number, often 80 for HTTP or 554 for RTSP, and the corresponding internal port that the camera uses. It is crucial to select the appropriate protocol, either TCP, UDP, or both, to ensure proper data transmission. After saving the settings, the user should verify that the camera's firmware is up to date and that any firewall settings on the router allow traffic through the designated ports. Finally, testing the remote access via a dynamic DNS service or the camera's external IP address will confirm successful configuration, enabling secure and reliable remote viewing of the IP camera feed from anywhere with internet connectivity.
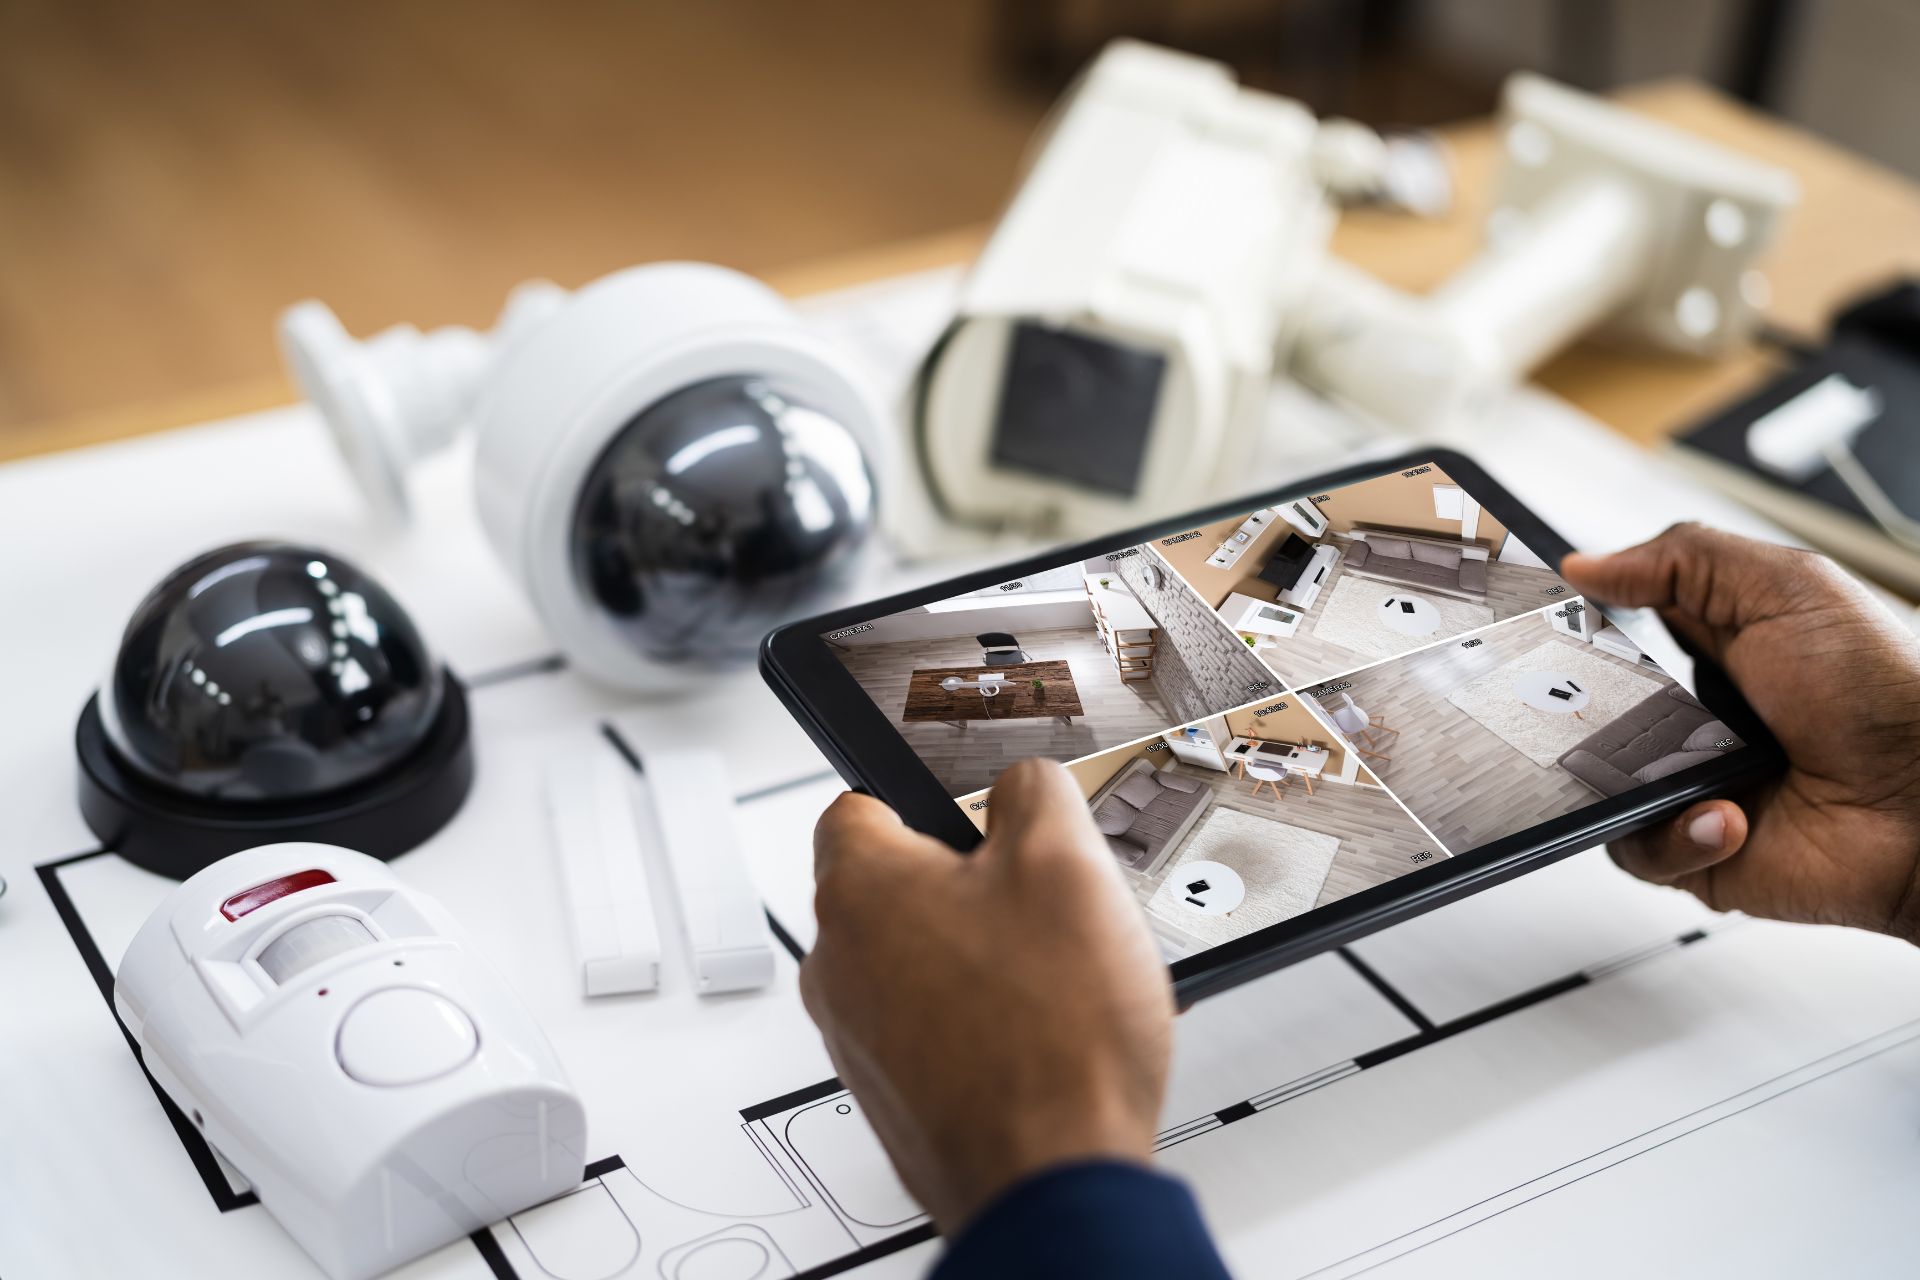
When it comes to accessing IP cameras remotely, several mobile applications stand out for their robust features and user-friendly interfaces. Apps like TinyCam Monitor offer comprehensive support for a wide range of IP camera brands, enabling users to view live feeds, control pan-tilt-zoom (PTZ) functionalities, and receive motion detection alerts. IP Cam Viewer is another popular choice, providing seamless integration with various camera models and offering advanced features such as cloud storage options and video recording capabilities. For those seeking enhanced security, AlfredCamera transforms old smartphones into surveillance cameras, allowing for remote monitoring and two-way audio communication. Additionally, CamHi and iSpy cater to users looking for customizable settings and multi-camera support, ensuring a versatile surveillance experience. These applications not only facilitate real-time video streaming but also enhance security management through features like remote playback, snapshot capture, and user access controls, making them essential tools for anyone needing reliable remote access to their IP camera systems.
To secure an IP camera's remote viewing feature against unauthorized access, it is essential to implement a multi-layered approach that includes robust password management, encryption protocols, and network segmentation. First, changing the default username and password to a strong, unique combination significantly reduces the risk of unauthorized entry, as many attackers exploit factory settings. Enabling WPA3 encryption on the Wi-Fi network enhances data security during transmission, while utilizing a Virtual Private Network (VPN) can create a secure tunnel for remote access, further safeguarding against eavesdropping. Additionally, regularly updating the camera's firmware ensures that any vulnerabilities are patched, and employing firewall rules can restrict access to the camera's IP address, allowing only trusted devices to connect. Implementing two-factor authentication (2FA) adds an extra layer of security, requiring a secondary verification method for remote access. Finally, monitoring access logs can help detect any suspicious activity, enabling prompt action against potential breaches.
For optimal remote viewing performance on an IP camera, several network settings should be meticulously configured to ensure seamless connectivity and high-quality video streaming. First, a stable and high-speed internet connection with a minimum upload speed of 2 Mbps per camera is essential to facilitate smooth data transmission. Implementing Quality of Service (QoS) settings on the router can prioritize video traffic, reducing latency and buffering during peak usage times. Additionally, enabling Dynamic Domain Name System (DDNS) can simplify remote access by providing a consistent hostname, even when the IP address changes. It is also advisable to utilize a wired Ethernet connection over Wi-Fi to minimize interference and maximize bandwidth stability. Furthermore, configuring the camera's resolution and frame rate to match the available bandwidth can prevent overload and ensure optimal performance. Lastly, employing secure protocols such as HTTPS and utilizing a Virtual Private Network (VPN) can enhance security while maintaining efficient remote access to the camera feed.
When troubleshooting connectivity issues related to accessing an IP camera remotely, one must first verify the network configuration, ensuring that the camera is properly connected to the local area network (LAN) and that the router's settings allow for external access. This includes checking the port forwarding settings, which should direct incoming traffic on the designated port (often HTTP or RTSP) to the camera's local IP address. Additionally, confirming that the dynamic DNS (DDNS) service is correctly set up can help in cases where the public IP address changes frequently. It is also essential to examine firewall settings on both the router and any security software that may be blocking the connection. Furthermore, ensuring that the camera's firmware is up to date can resolve compatibility issues that may arise with remote access protocols. Lastly, testing the connection using different devices or networks can help isolate whether the issue lies with the camera, the network, or the remote access application being used.